Before & After Photos
Click on a photo to enlarge.
Insulating an Attic in Belchertown, MA
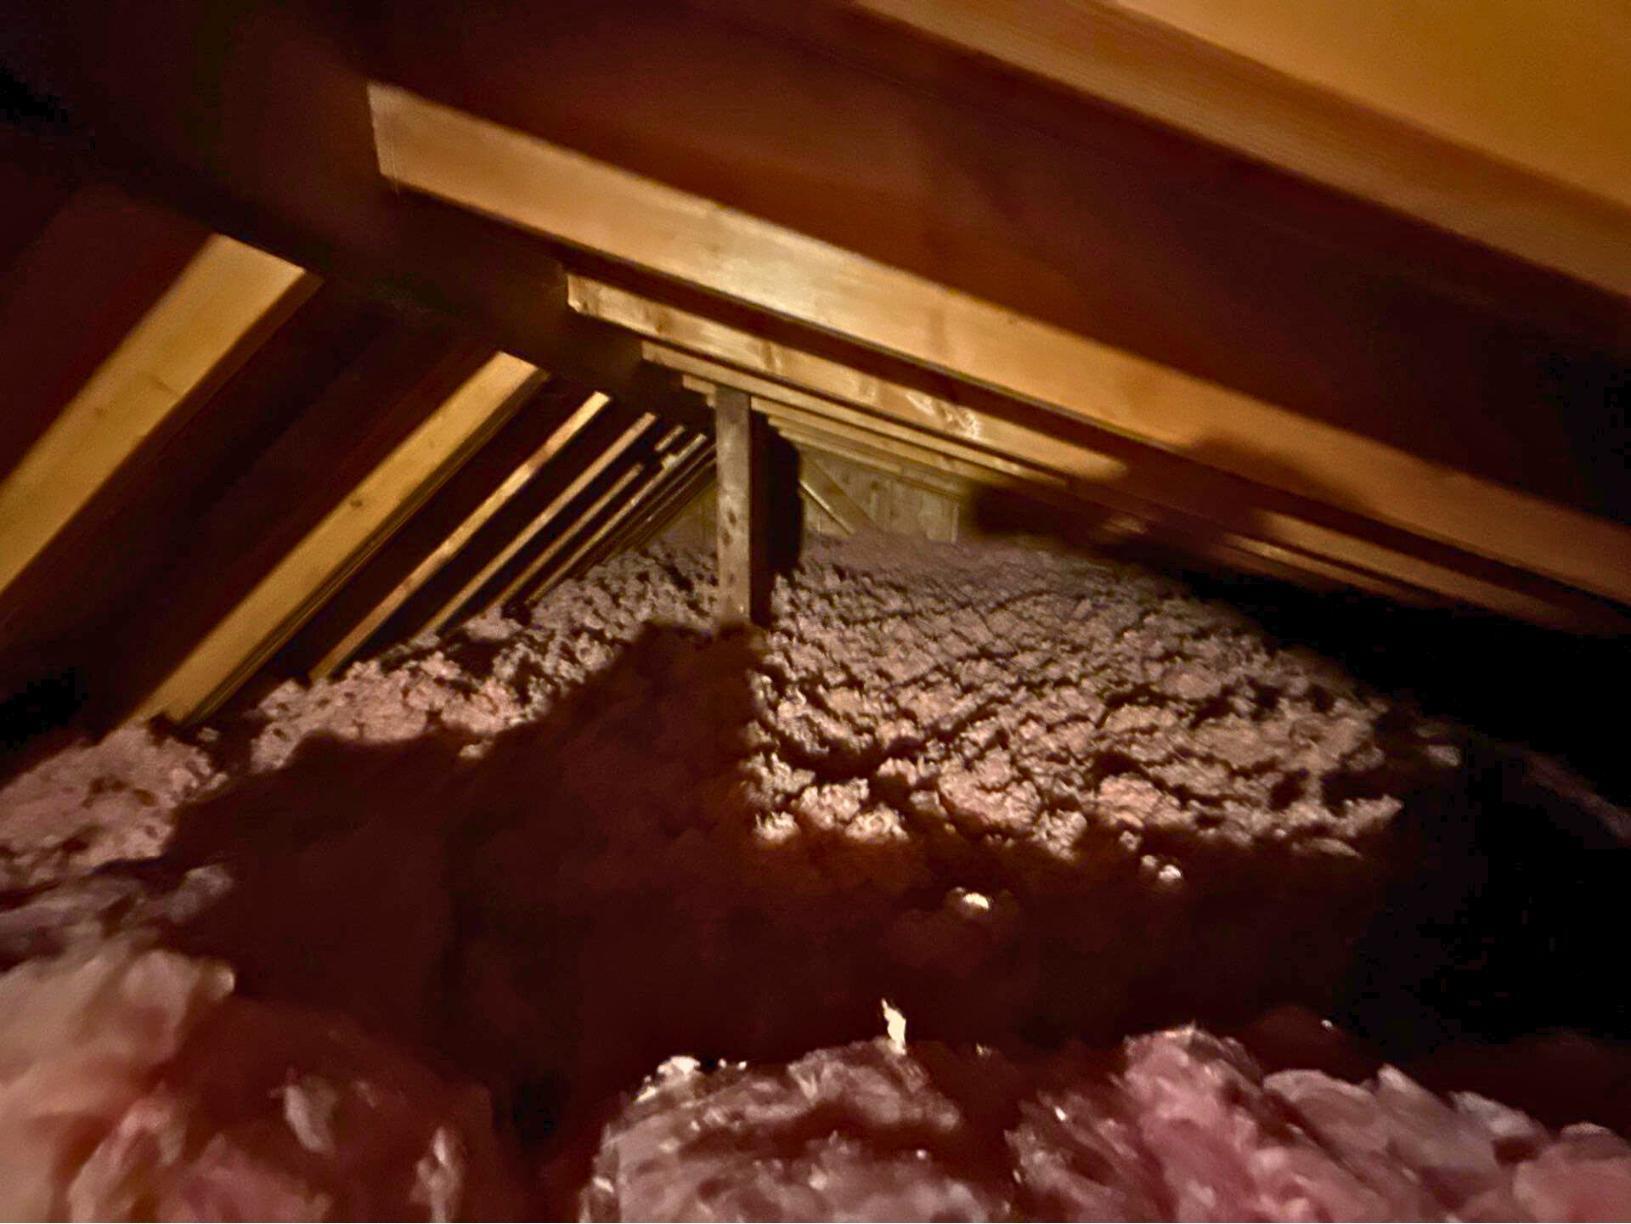
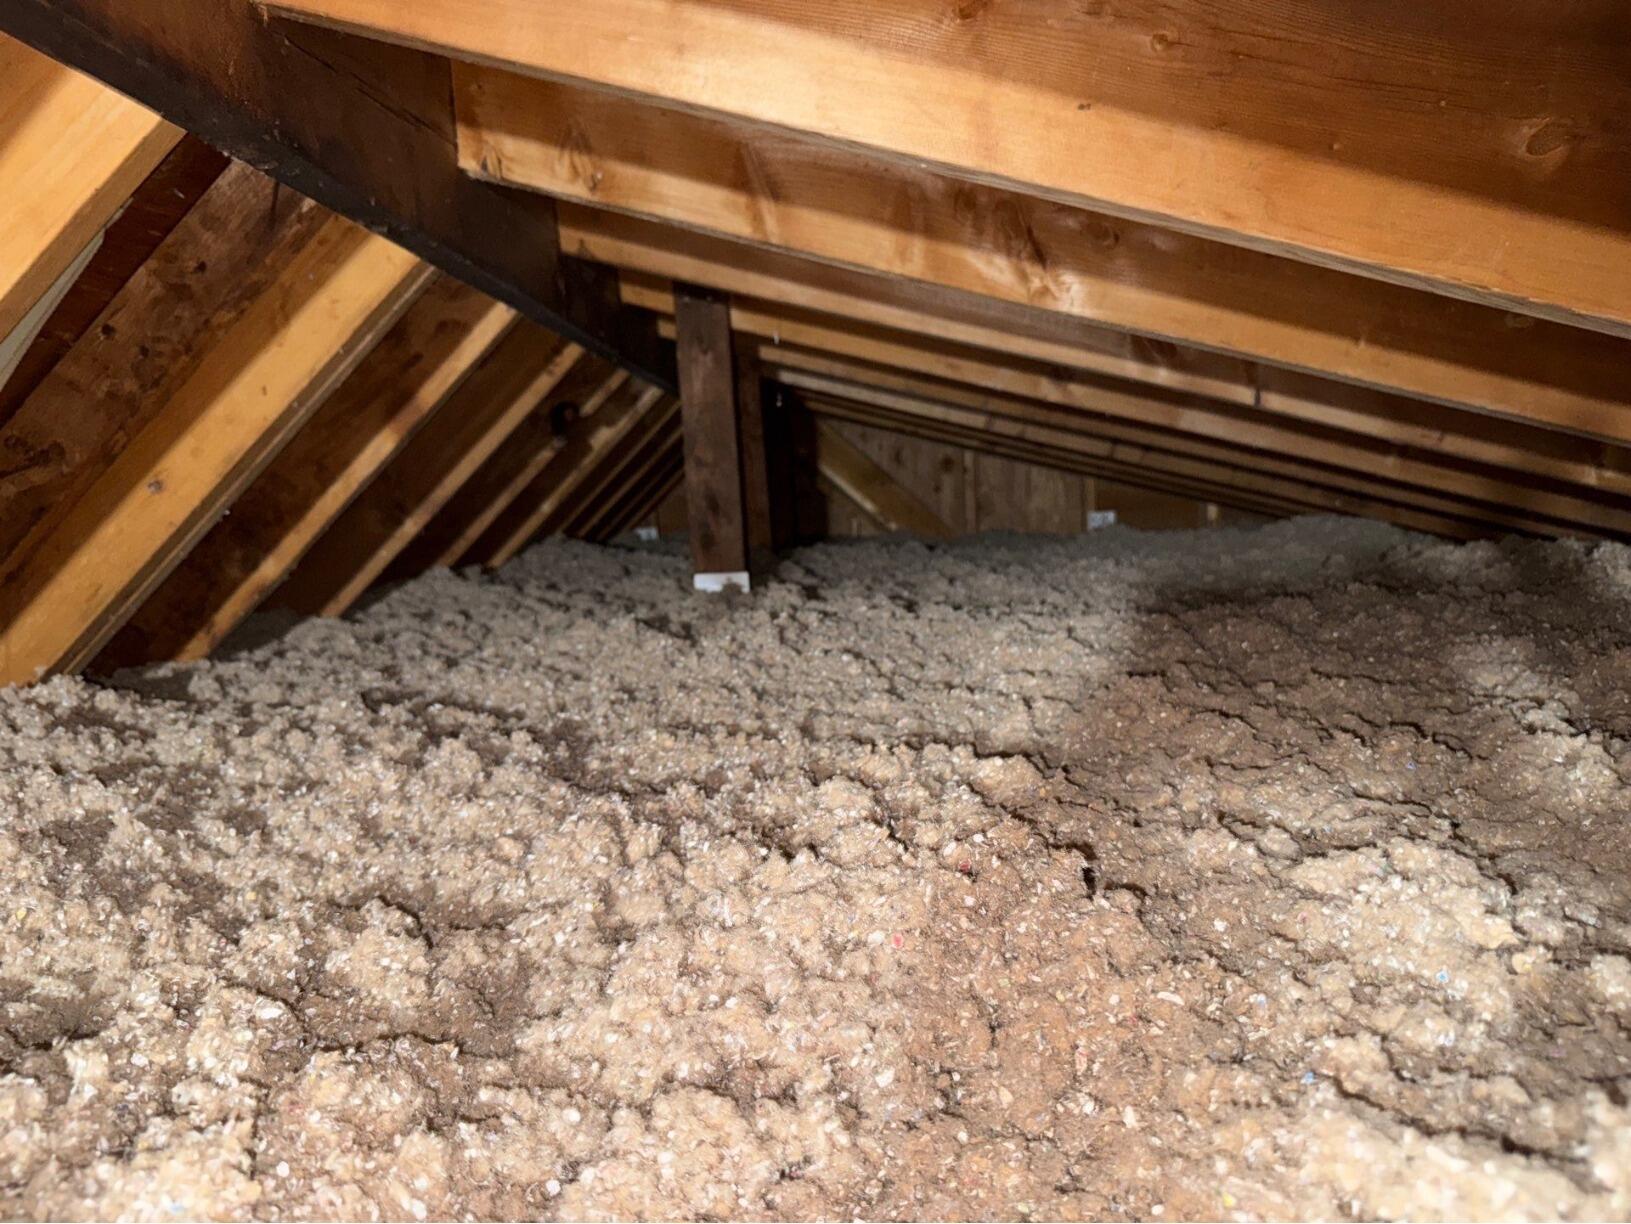
This homeowner in Belchertown, MA reached out in order to complete some renovations on her home. Specifically, she wanted to remove and replace her attic insulation before selling her home. She wanted to make her home as comfortable and updated as possible for the next family.
We were able to help this customer! We were able to replace the attic insulation with TruSoft™ cellulose insulation. We started by removing the old blown-in insulation using a large vacuum. We then went in and air-sealed around all of the points where air leaks up from the home to the attic. We did this using our Zypfoam™ spray foam. Once the attic was air sealed, we used a long hose to blow in TruSoft™ cellulose insulation. TruSoft™ is amazing -- it does not burn, get moldy, or attract pests. The blown-in insulation fills all gaps and oddly shaped voids. The homeowner now is able to move forward in her renovations before selling her home.
Reducing a Cold and Drafty Kitchen in Ellington, CT


This homeowner in Ellington, CT called us out to their home to take a look as some problems that have been experiencing. The problem was their kitchen, their kitchen was very cold and drafty and they could not figure out why. They also had extremely high energy bills due to the amount of heat they were losing. We went to the home to perform a Full Home energy Evaluation to figure out why they were having this issue. We knew we needed to help these customers become more comfortable in a room of their home that they spend a lot of time in. While conducting the Energy Evaluation we noticed that in their basement, directly under their kitchen the walls were full of fiberglass insulation. Fiberglass insulation is soft and fluffy, and allows a great deal of cold air to travel through. Because of this it does not make for a great insulation choice. Air was seeping through this fiberglass and up into this homeowners kitchen, creating a cold and drafty living space. We knew exactly what we had to do to make these homeowners more comfortable, and energy efficient in their home.
The first thing we need to do in this homeowners basement was the nasty task of removing all of the old, fiberglass insulation. We properly bag up and dispose of this insulation and bring it off site. Next, we install our Polyisocyanurate foam insulation board on the basement walls. This isn’t just an ordinary foam board- Polyisocyanurate foam has the flame retardant properties to satisfy building codes to leave it exposed in the basement. It also has a foil facing to reflect heat so that the insulation isn’t doing all the work by itself. We make sure these boards are tightly secured with Dr. Energy Savers proprietary Foam-Tite Fasteners. This will drastically reduce this customers energy bills, and the cold, drafty kitchen.
Thanks to Dr. Energy Saver by Eco Energy Solutions, this homeowner can not live more comfortably, happy, and energy efficient in their home!!
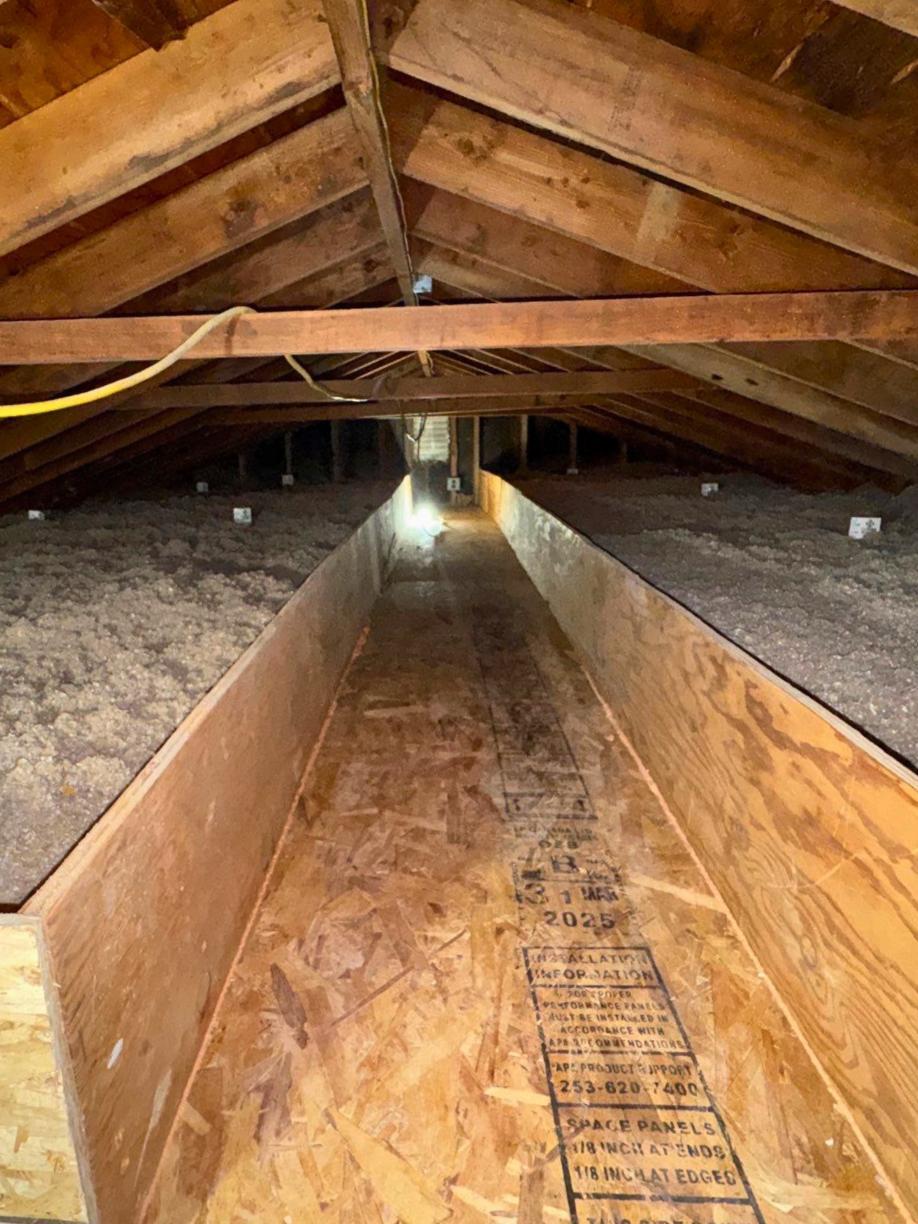
Removing and Replacing Insulation in an Attic in Ellington, CT

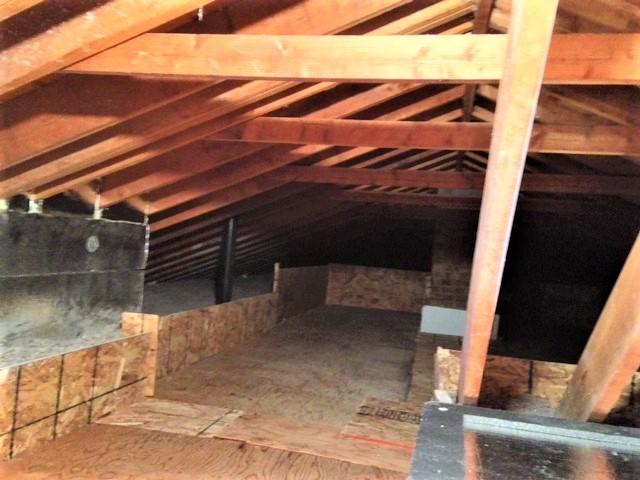
This customer in Ellington, CT called us out because of a concern they were having in their home. Their concern was that they had very old, ineffective fiberglass insulation in the attic. Fiberglass insulation is super fluffy, and is not able to properly insulate a home on its own. Due to this, this home was way colder than it should be this winter. This was caused by the lack of proper insulation. Without proper insulation air can leak into your attic and out of your home, making it difficult and costly to keep a home warm.
To fix this, we use our SuperPlatform treatment. First we need to remove the existing insulation. Our installers remove all of the old insulation, bag it up, and properly dispose of the materials. Since this home contains an HVAC system in their attic we have make sure there is a proper walkway, or catwalk in the attic. This makes it so that service can be done correctly and safely in a space where there are mechanics. Next, we lay our 4" SilverGlo foam board across the wooded walkway. This will increase the insulation value by 24%. We want to make sure that none of the blown in insulation we are installing will get on to our new walkway. Next, we have to install plywood over the foam board held in place by long screws and washers. Following this step, we dense pack TruSoft cellulose insulation into any space beneath the catwalk that is not filled.
Thanks to Dr. Energy Saver by Eco Energy Solutions, this customer is warmer and ecstatic with the temperature in their home!
Replacing a Bulkhead Door in Ellington, CT


This homeowner in Ellington, CT called us looking to get his bulkhead door replaced. An inspector recommended it be replaced. Additionally, it was the door original to the house, and was decades old and rusting.
Fogarty's Home Services was able to help this customer. We were able to install a beautiful new bulkhead door. We caulked around the edges and installed flashing behind the door to ensure a tight fit. Now, it looks amazing, and the homeowner is happy!
Insulating an Attic in Hebron, CT
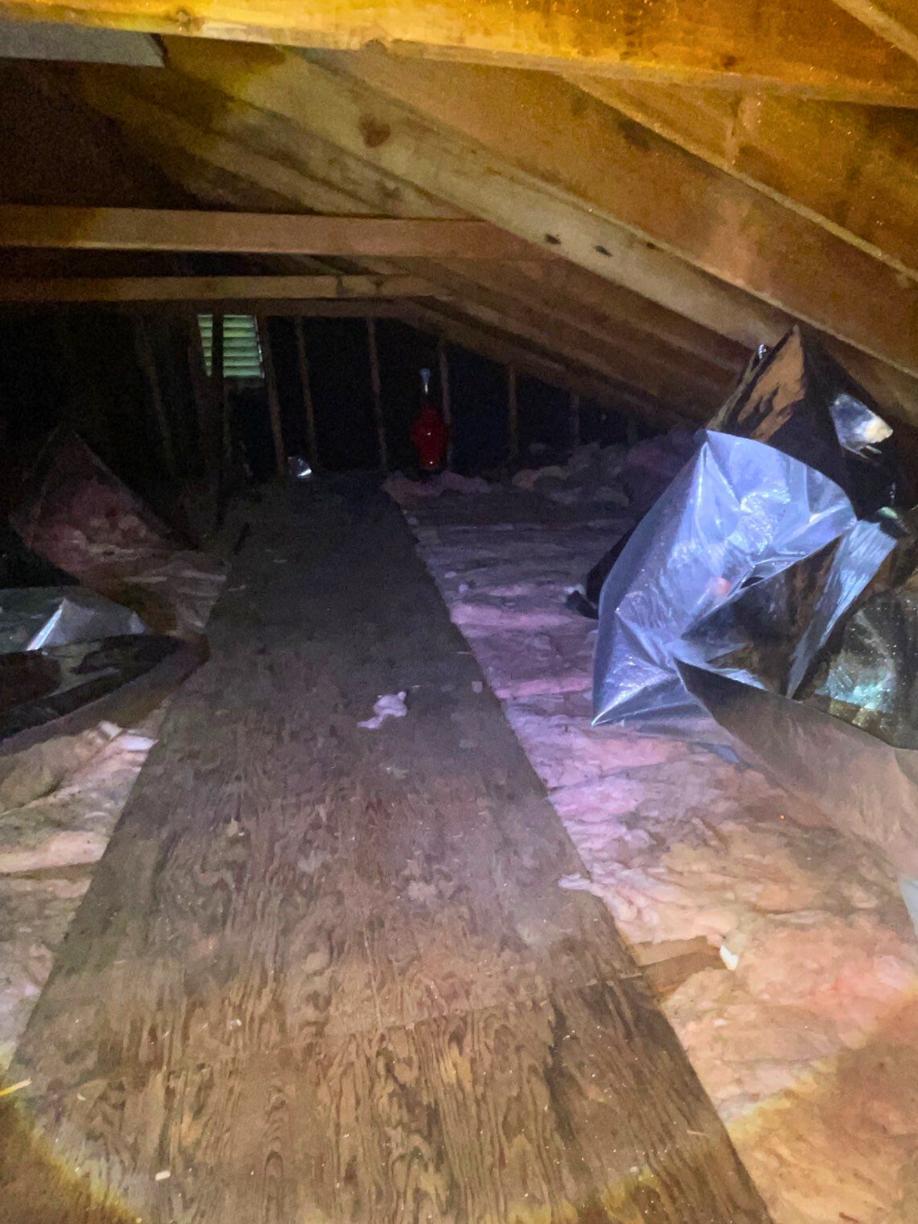
This homeowner in Hebron, CT called us hoping to talk about removing his attic insulation and replacing it. He had an insect issue and wanted to prevent it from reoccurring. He also had an issue with his attic being very humid. His home was additionally very energy inefficient, and he had high energy bills.
We were able to help this customer! We were able to replace the attic insulation with TruSoft™ cellulose insulation. We started by removing the batt insulation, putting it in large bags. We then went in and air-sealed around all of the points where air leaks up from the home to the attic. We did this using our Zypfoam™ spray foam. Once the attic was air sealed, we used a long hose to blow in TruSoft™ cellulose insulation. TruSoft™ is amazing -- it does not burn, get moldy, or attract pests. The blown-in insulation fills all gaps and oddly shaped voids. The homeowner is now much more comfortable in his home!