Before & After Photos
Click on a photo to enlarge.
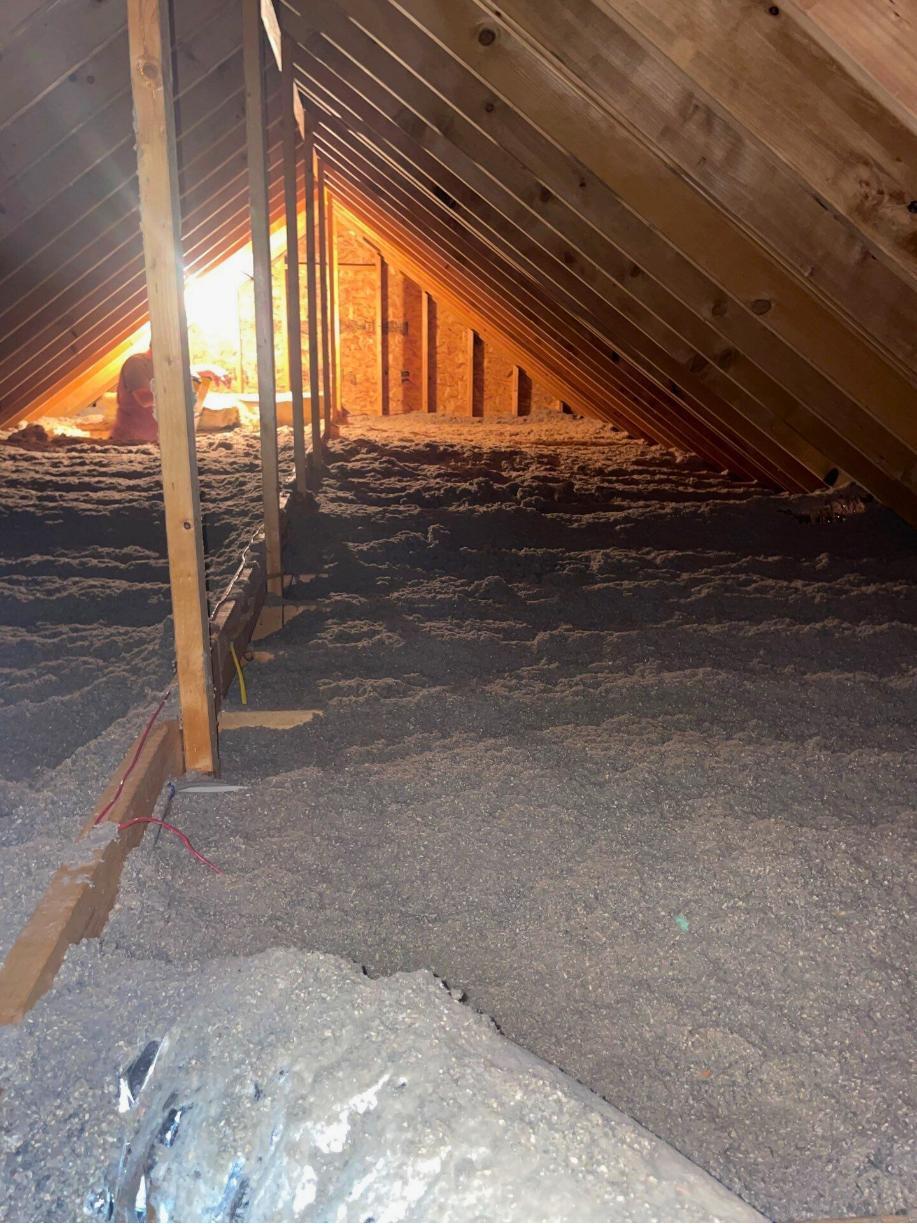
Insulating an Attic in Vernon, CT
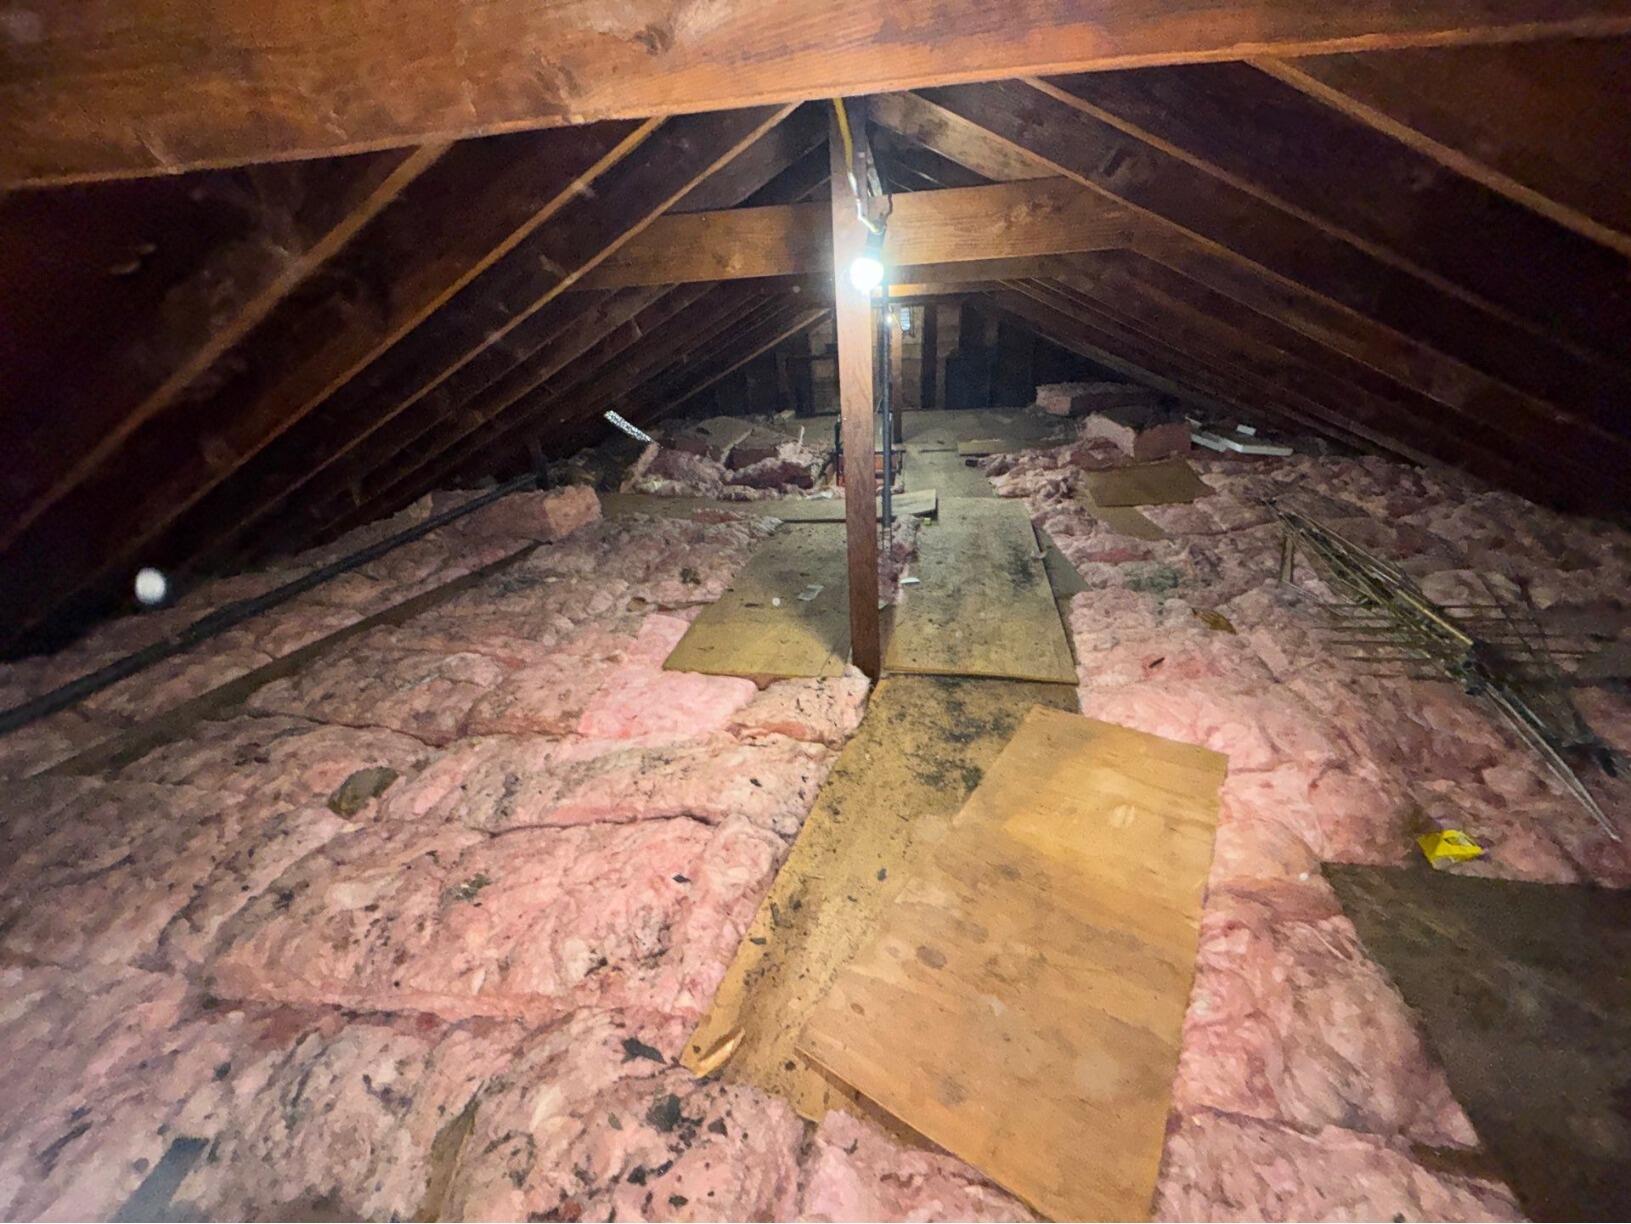
This homeowner in Vernon, CT called us hoping to get opinions regarding his home. He was hoping to talk about both attic and basement insulation. In the attic, he had old fiberglass batts. These were moldy, dirty, and needed to be replaced.
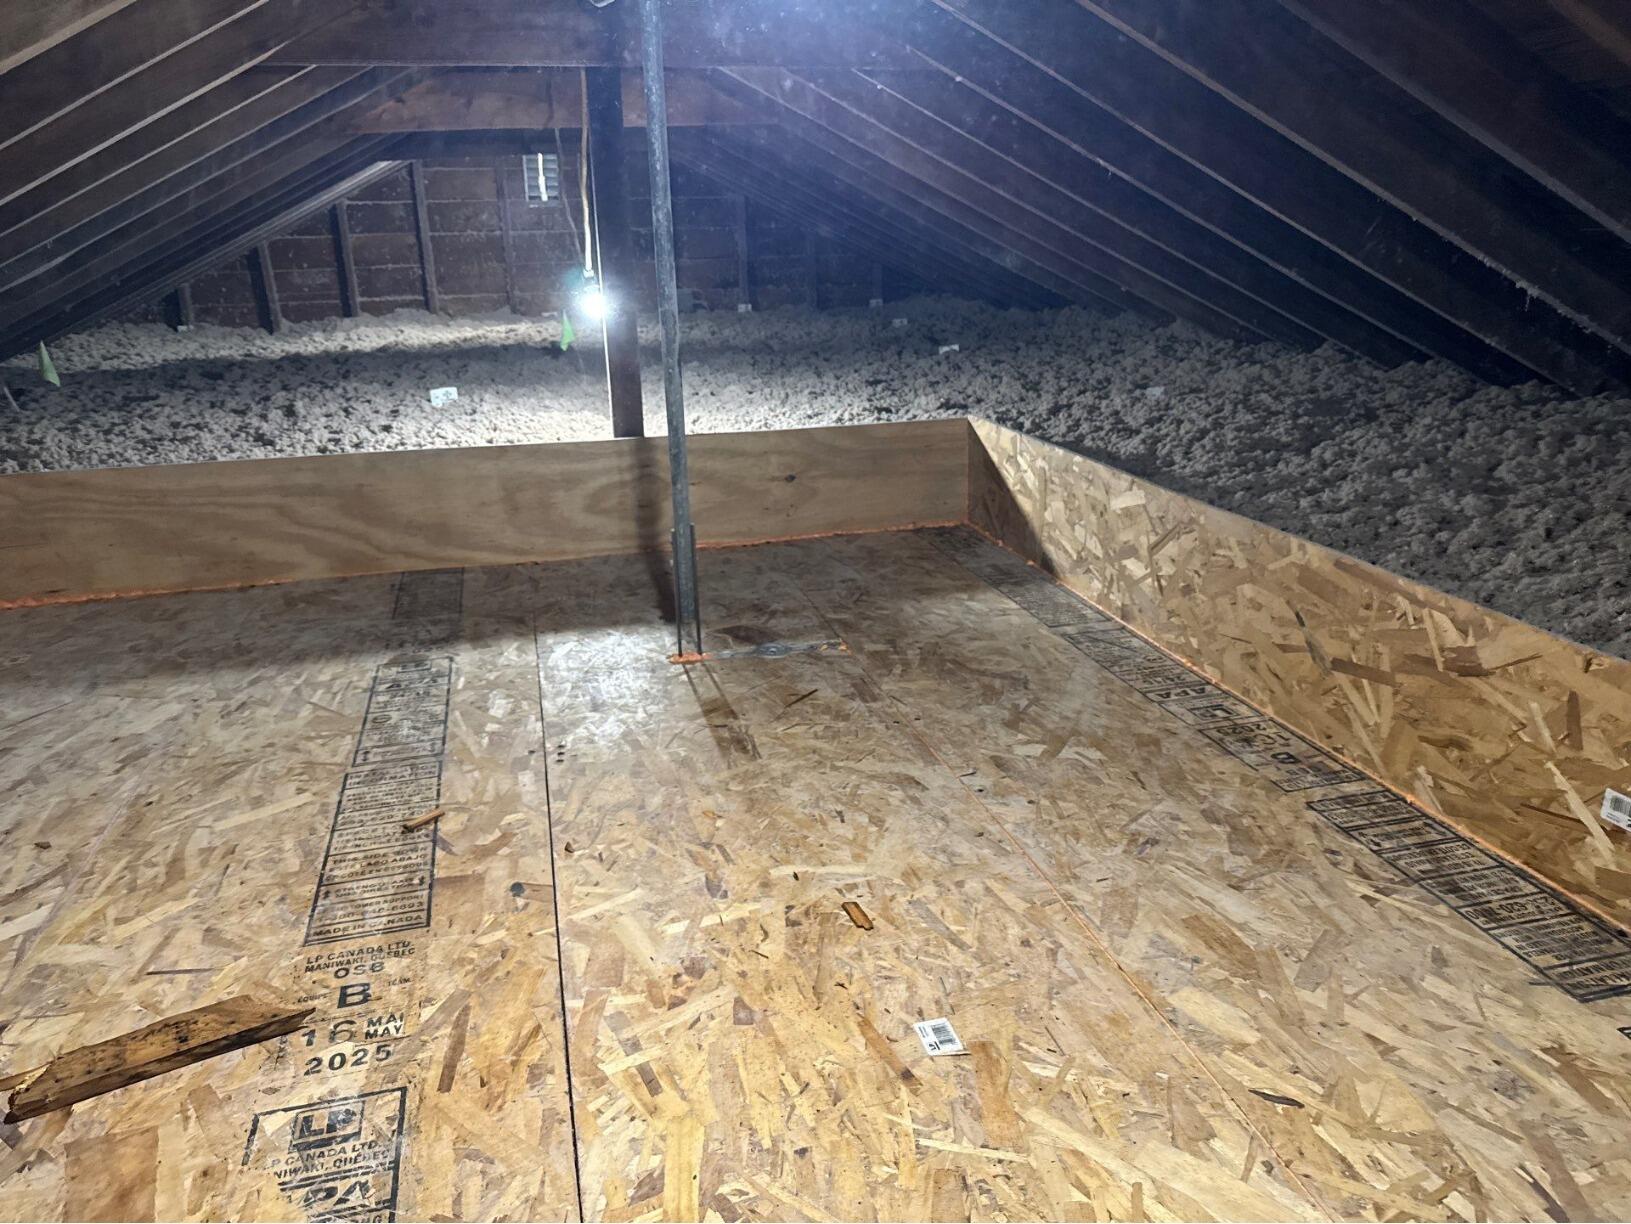
We were able to help this customer! We were able to replace the attic insulation with TruSoft™ cellulose insulation. We started by removing the old blown-in insulation using a large vacuum. We then went in and air-sealed around all of the points where air leaks up from the home to the attic. We did this using our Zypfoam™ spray foam. Once the attic was air sealed, we used a long hose to blow in TruSoft™ cellulose insulation. TruSoft™ is amazing -- it does not burn, get moldy, or attract pests. The blown-in insulation fills all gaps and oddly shaped voids. The homeowner is now much more comfortable in his home!
Insulating a Basement in Vernon, CT
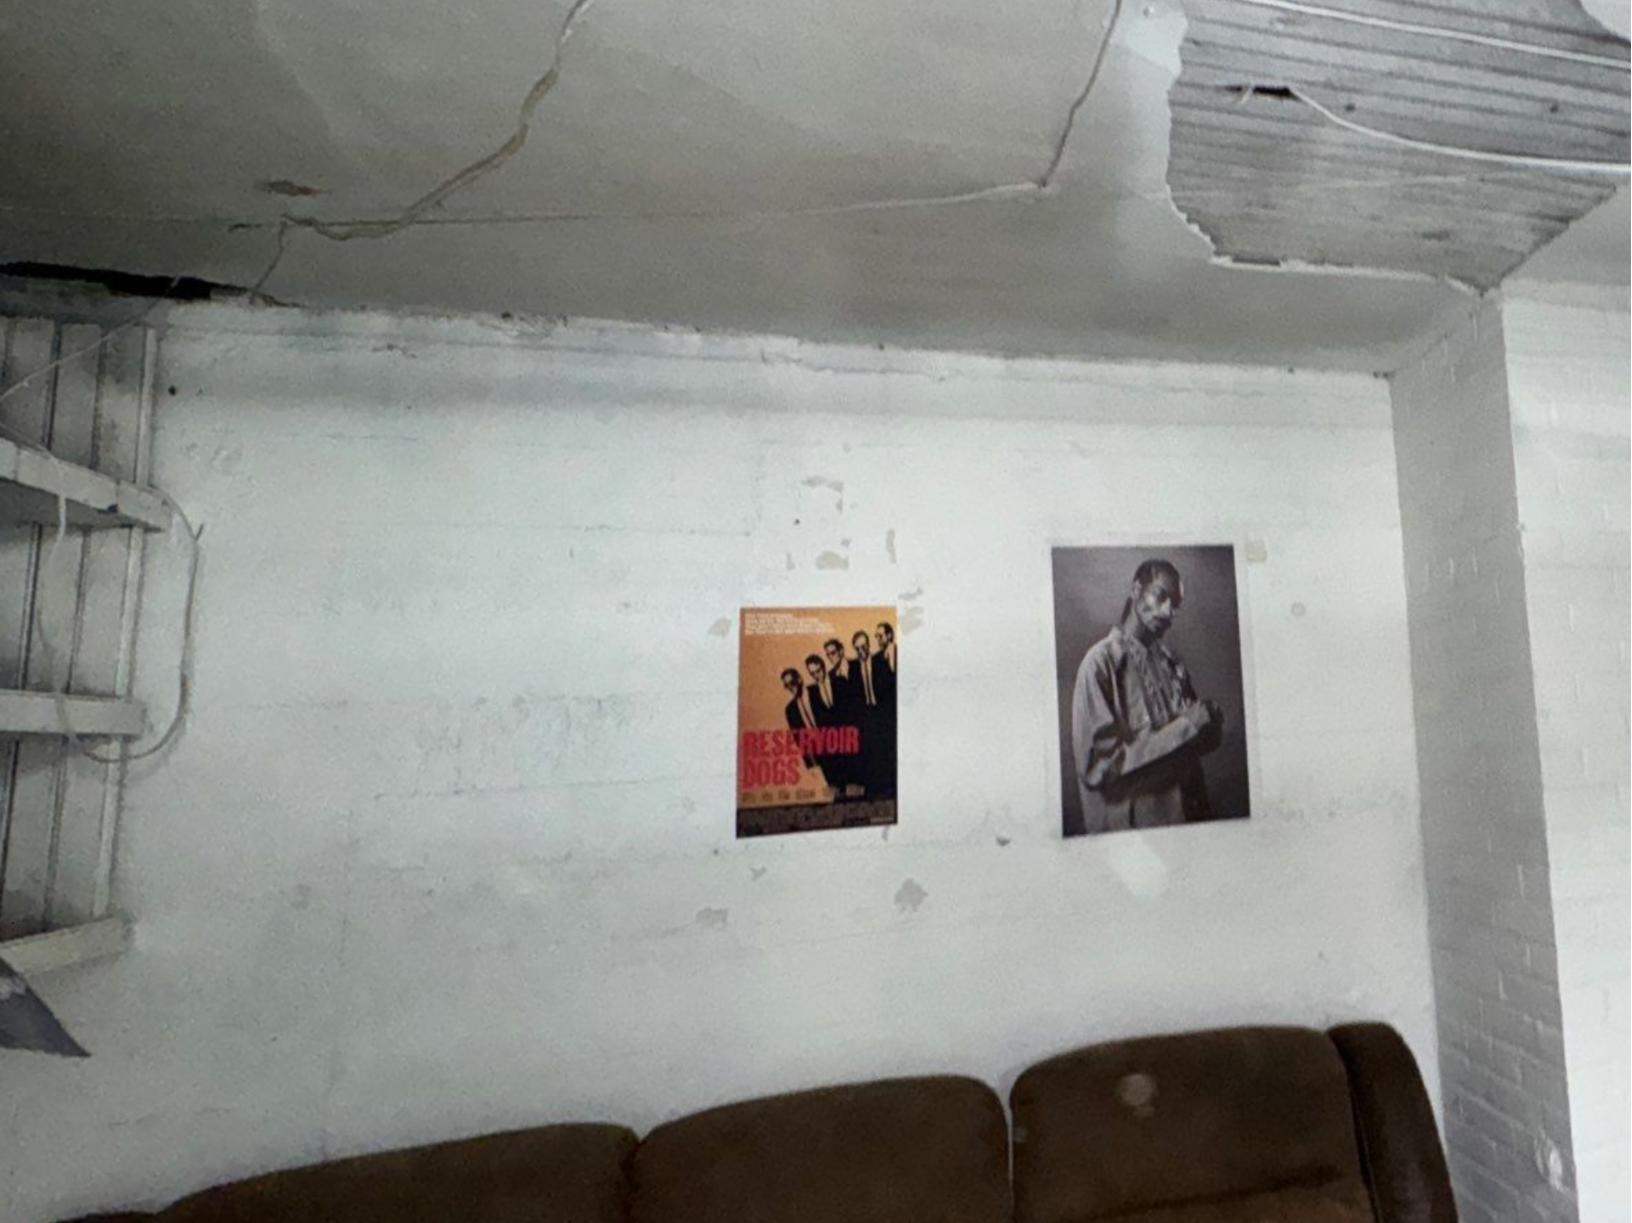
This homeowner in Vernon, CT initially called us in the winter hoping for an audit to figure out how to make his home more energy efficient. He had recently moved in, and the home was very cold. Our Home Comfort Specialist came out and noted that, based off thermal imaging, his rim joist was completely uninsulated. However, this could not be confirmed due to the fact that the ceiling was covering it and would need to be cut back in order to check the insulation or re-insulate. The homeowner wanted to move forward, however, he knew that his work schedule would be very chaotic for a while. Therefore, he put the project on hold. He then called us back in the fall and said he was ready to move forward.
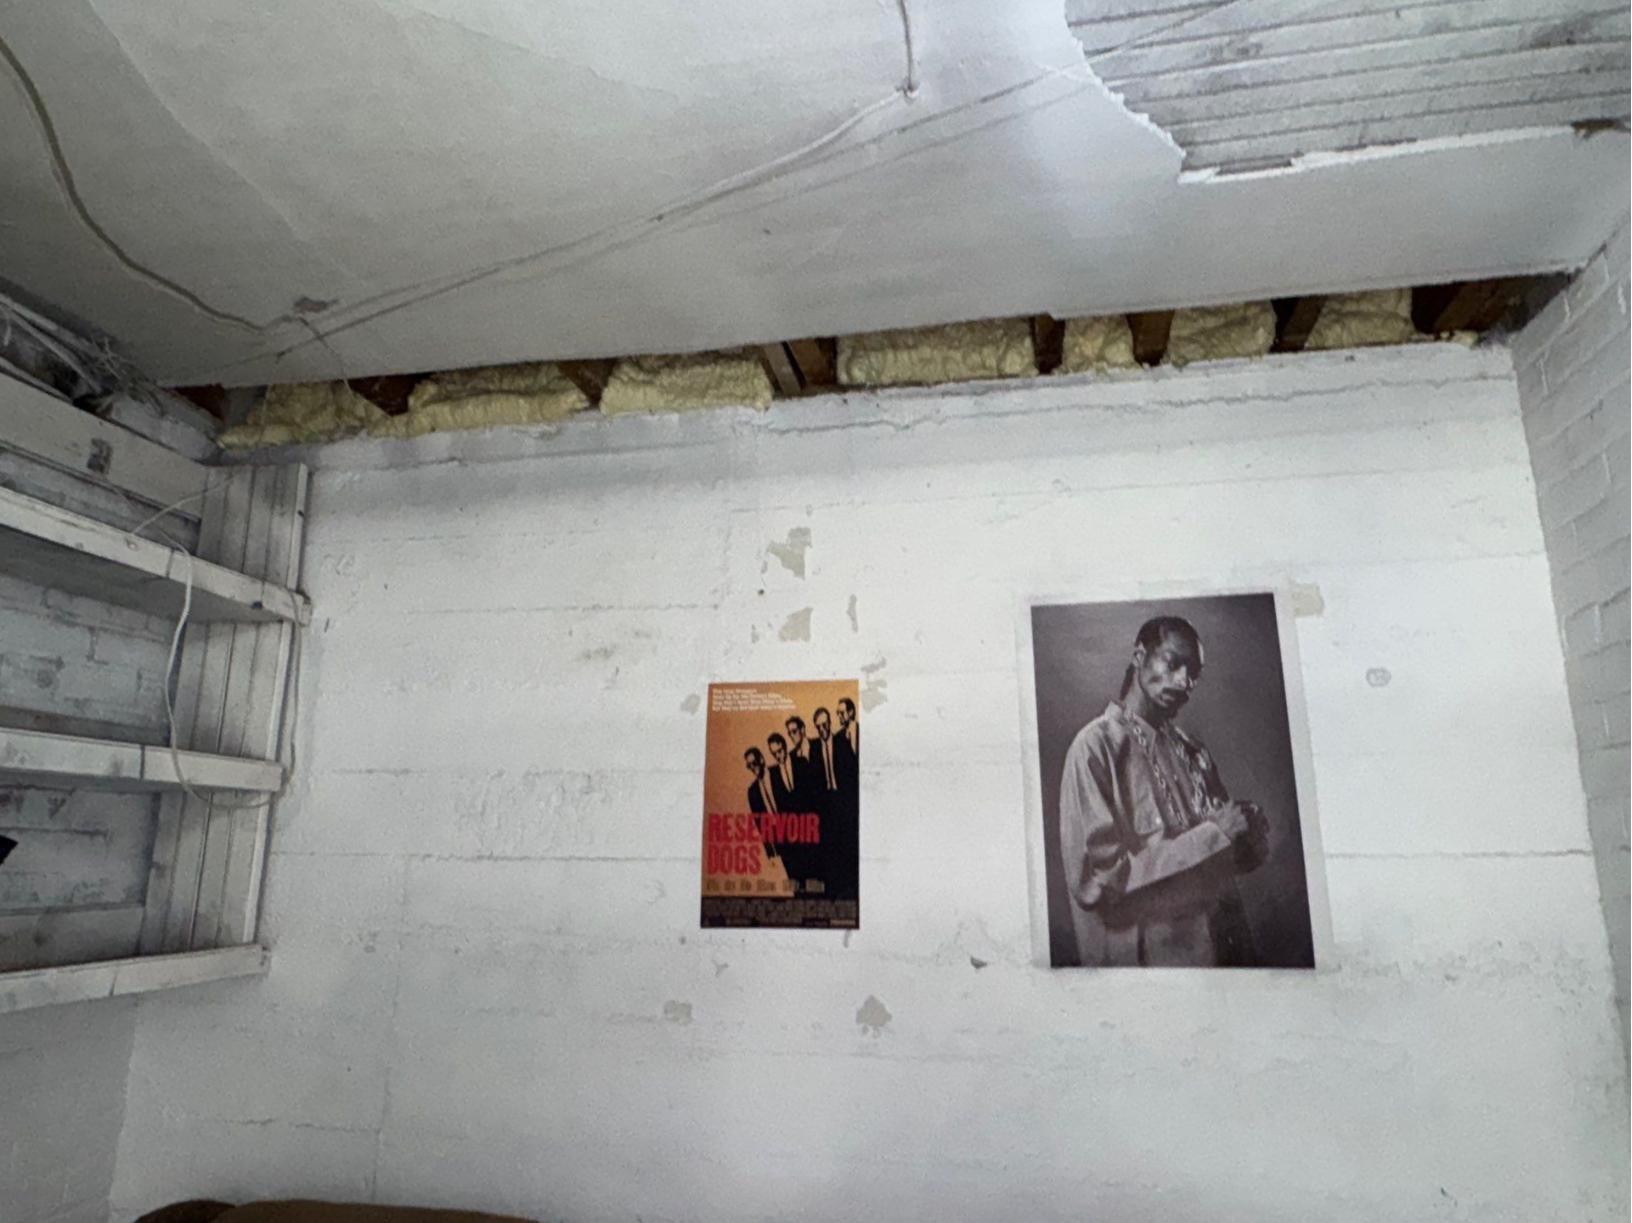
We had the perfect solution for this customer! We first cut back the ceiling to ensure that we had accessed. We then insulated the rim joist (the perimeter of the floor framing system along the exterior of the home). We utilized two-part expanding spray foam. We spray this foam in the rim joist and over the sill plate. Insulating the rim joist in this way seals all air leaks - filling in the cracks and gaps that are present there. This prevents outside air from getting into the home. The homeowner is now very happy, and he is much more comfortable in his home!
Replacing a Basement Door in Wilbraham, MA
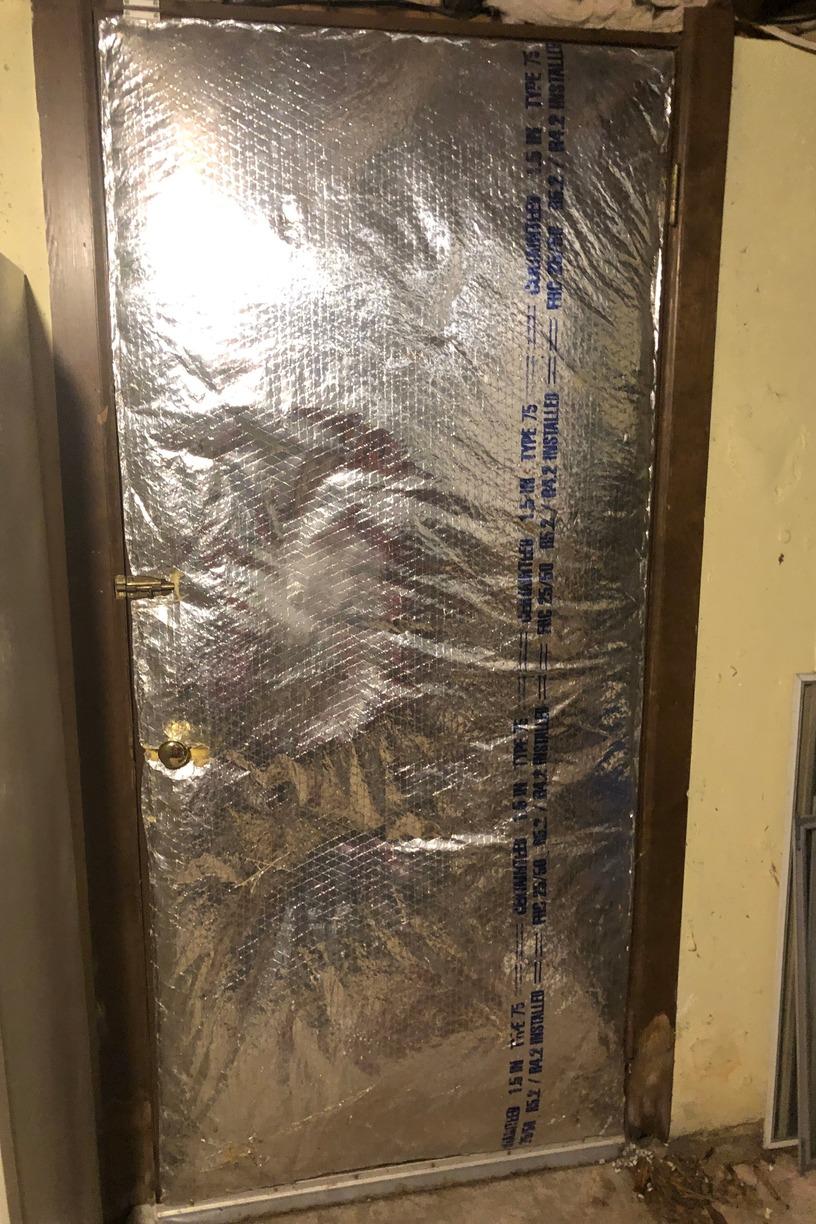

This homeowner in Wilbraham, MA had issues with freezing pipes and keeping their home warm. They had an insulated, but not quite effective door leading from hatch steps to the outside into the basement that was letting the cold in. There was a foil facing but the door was made of wood and was starting to splinter and deteriorate.
We started by removing the old door and frame. Once we installed updated framing, we installed our insulated door with weather stripping and a locking knob. Outside air will no longer be able to get in, meaning a warmer basement in the winter, and less humidity in the summer.
Thanks to Dr. Energy Saver by Eco Energy Solutions, pipes will no longer freeze and the homeowner will be more comfortable.
Insulating an Attic in Wilbraham, MA
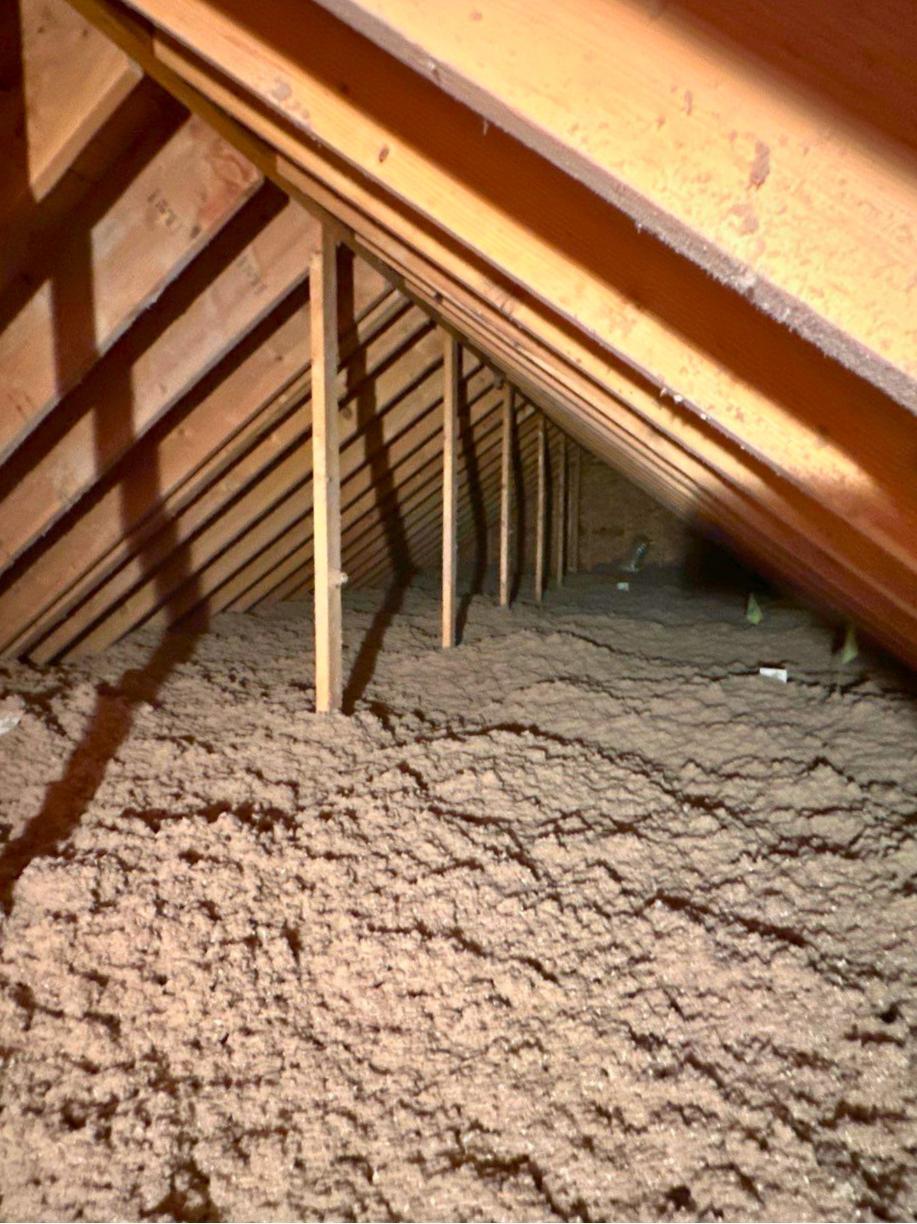
This homeowner in Wilbraham, MA called us hoping to talk about his cellulose attic insulation. He did not have enough in his attic, and was hoping we would be able to help him. He had high energy bills and was experiencing energy loss. He specifically did not want to remove and replace his insulation, though -- he wanted to simply add more.
We were able to help this customer with his home. We added insulation value to his home by adding our TruSoft™ cellulose insulation. We used a large hose to blow it into the home. The new insulation "capped" the old insulation, blanketing it and adding R-value.
Properly Insulating a Basement in Wilbraham, MA


This customer in Wilbraham, MA called us when he realized he needed new insulation in his basement. After a very detailed evaluation with our Home Comfort Specialist, they decided that using spray foam in the rim joist would be the best option.
This homeowner already had fiberglass batts in the rim joist. Fiberglass is a notoriously bad insulation. It's prone to falling down or sagging, letting air leak in, and being comfortable as bedding for pests such as rodents.
We immediately removed the fiberglass insulation from the rim joist. We then went back in with two part expanding spray foam, installed on the rim joist and the sill plate. This goes into every crack, gap, and joint to make sure that there are no air leaks.